먼저 Docker를 다운받는다.
docker가 없어도 lambda에 함수를 올리는건 쉽게 할 수 있지만 환경이 바뀔때마다 혹은 어딘가에 배포를 할때마다 매 번 환경을 맞춰줄수는 없으니 되도록 docker를 사용하는것이 좋다
로그인은 따로 진행하지 않아도 된다.
https://www.docker.com/products/docker-desktop/
Docker Desktop: The #1 Containerization Tool for Developers | Docker
Docker Desktop is collaborative containerization software for developers. Get started and download Docker Desktop today on Mac, Windows, or Linux.
www.docker.com

이후 ecr에 image를 올리기 위해 사용할 aws-cli를 다운받는다.
GUI지원이 되니 쉽게 다운받을 수 있다.
https://docs.aws.amazon.com/cli/latest/userguide/getting-started-install.html
Install or update to the latest version of the AWS CLI - AWS Command Line Interface
When updating from a previous version, the unzip command prompts to overwrite existing files. To skip these prompts, such as with script automation, use the -u update flag for unzip. This flag automatically updates existing files and creates new ones as ne
docs.aws.amazon.com

이후 docker -v 와 aws —v 명령어로 설치가 정상적으로 된것을 확인한다.

먼저 aws-cli를 사용하기 위해 aws에 로그인을 진행해준다.
aws configure 명령어를 통하여 로그인을 진행해도 되고 aws key id와 secret access key를
~/.aws/credentials 에 직접 추가해줘도 된다 양식은 아래와 같다
[default]
aws_access_key_id = [key_id]
aws_secret_access_key = [secret_access_key]
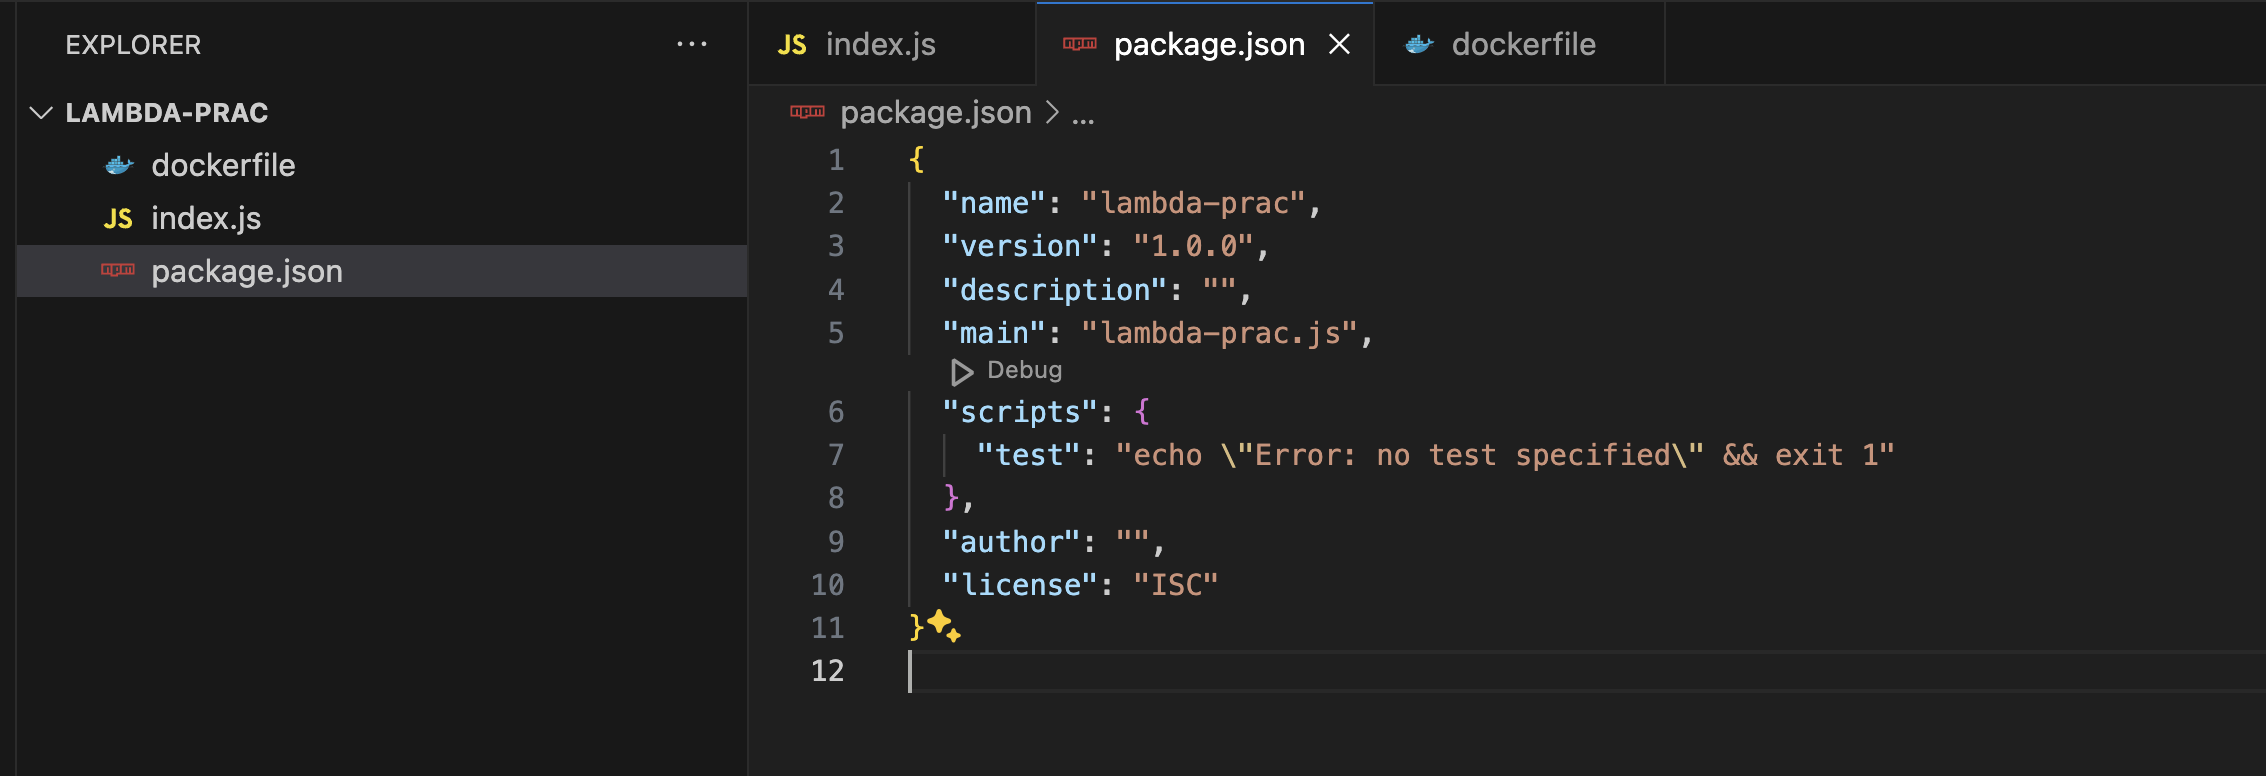
이제 원하는 경로에 lambda에 올릴 함수를 위한 dir을 하나 만들어준다.
> mkdir lambda-prac && cd lambda-prac
> code .
만든 dir 경로에서 npm init 명령어를 실행해준다
kjsik11@Jongsiks-MacBook-Air lambda-prac % npm init

This utility will walk you through creating a package.json file.
It only covers the most common items, and tries to guess sensible defaults.

See `npm help init` for definitive documentation on these fields
and exactly what they do.

Use `npm install <pkg>` afterwards to install a package and
save it as a dependency in the package.json file.

Press ^C at any time to quit.
package name: (lambda-prac)
version: (1.0.0)
description:
entry point: (lambda-prac.js)
test command:
git repository:
keywords:
author:
license: (ISC)
About to write to /Users/kjsik11/Documents/Programming/lambda-prac/package.json:

{
  "name": "lambda-prac",
  "version": "1.0.0",
  "description": "",
  "main": "lambda-prac.js",
  "scripts": {
    "test": "echo \\"Error: no test specified\\" && exit 1"
  },
  "author": "",
  "license": "ISC"
}
이후 index.js 파일을 만든 후 lambda에 올릴 함수를 작성해준다.
//[index.js]
exports.handler = async (event) => {
  const response = {
    statusCode: 200,
    body: JSON.stringify("Hello World", event),
  };
  return response;
};
함수도 만들었으니 이제는 docker 이미지 빌드를 위한 dockerfile을 만들어준후 아래의 예시 설정을 추가해준다.
#[dockerfile]
FROM public.ecr.aws/lambda/nodejs:20

# Copy function code
COPY index.js ${LAMBDA_TASK_ROOT}

# Set the CMD to your handler (could also be done as a parameter override outside of the Dockerfile)
CMD [ "index.handler" ]
이제 코드 작성은 완료되었다.
다음으로 아래 명령어를 입력하여 docker image를 빌드해준다.
이 때 —platform 설정을 주의깊게 봐야한다. 여기서는 linux의 amd64 아키텍쳐를 대상으로 빌드하는 방식을 채택하여 사용하였으며 나중에 lambda에서 빌드한 방식에 맞게 설정을 해줘야 정상적으로 동작하니 꼭 기억해둬야한다.
docker 태그값은 test 이다.
docker build --platform linux/amd64 -t docker-image:test .
테스트를 위해 아래 명령어로 이미지를 실행시켜본다.
여기서 -p 9000:8080은 호스트 컴퓨터의 9000번 포트를 컨테이너의 8080번 포트에 연결해주는 역할을 하는 명령어이다.
즉 외부에서 호스트의 9000번 포트로 들어오는 트래픽이 있다면 이는 컨테이너의 8080번 포트로 리디렉션 된다.
docker run --platform linux/amd64 -p 9000:8080 docker-image:test
정상적으로 실행되었다면 docker app에 다음과 같은 컨테이너가 보이는것을 확인할 수 있다.

아래 명령어를 입력해보면 정상적으로 response가 출력되는것을 확인할 수 있다.
curl "http://localhost:9000/2015-03-31/functions/function/invocations" -d '{"payload":"hello world!"}'

테스트가 종료되었으니 컨테이너를 정지시켜준다
명령어는 아래와 같다.
docker ps

docker kill [container id]

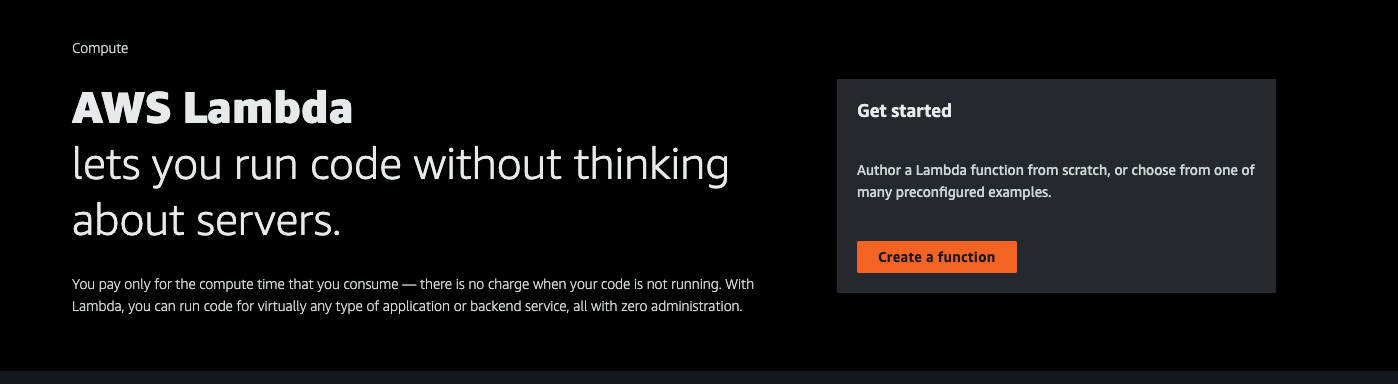
이제 docker 이미지도 빌드 완료하였으니 이 이미지를 ECR에 업로드해야한다.
ecr 역시 사용하지 않아도 되지만 docker 이미지의 버저닝, CI/CD, 보안등을 위해 사용하는것을 추천한다.
aws ecr에서 get started를 클릭하여 repository를 만들어준다.

private 설정과 적절한 이름을 넣고 repository를 만들었다면 아래 이미지처럼 repository를 콘솔에서 확인할 수 있다.

이 때 URI의 맨 앞쪽 835907790565 같은 경우 식별자 역할을 한다.
다음은 aws-cli를 사용하여 빌드된 docker image를 업로드할 차례이다.
먼저 ecr에 로그인을 해준다. 명령어는 다음과 같다.
[양식]
aws ecr get-login-password --region [region] | docker login --username AWS --password-stdin [ecr repository key].dkr.ecr.[region].amazonaws.com

[예시명령어]
aws ecr get-login-password --region ap-northeast-2 | docker login --username AWS --password-stdin 835907790565.dkr.ecr.ap-northeast-2.amazonaws.com
ecr uri 뒤에 있는 latest 태그를 사용하면 지난 버전에 대한 언태깅 작업을 알아서 진행해준다. 일반적으로 git hash를 태그로 사용한다.
정상적으로 푸쉬 되었다면 아래 이미지와 같은 푸쉬 로그와 ecr console에 정상적으로 올라간 모습을 확인할 수 있다.


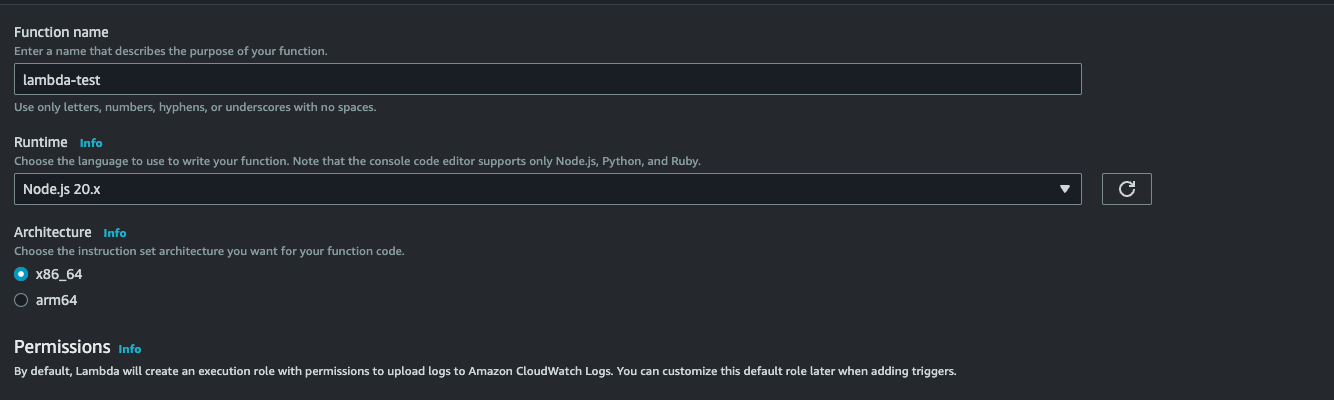
이제 aws lambda에 가서 ecr에 올라가있는 이미지 사용하여 배포만 진행해주면 된다.
create a function버튼을 눌러준다.
아키텍쳐의 경우 docker image 빌드시 선택한 platform과 호환되는 아키텍쳐를 선택해준다. 여기서는 아까 linux/amd64로 빌드하였으니 x86_64 아키텍쳐이다.
이후 create function을 누르면 순식간에 배포가 완료되어 아래 이미지와 같은 화면을 확인할 수 있다.

아래로 조금 스크롤을 내려 test 버튼을 클릭한다.

이후 다음과 같이 event name과 json 값을 적은뒤 새 테스트 이벤트를 생성해준다.

다음 테스트 버튼을 다시 한 번 누르면 성공적으로 함수가 배포되고 실행되는것을 확인할 수 있다.

'devops' 카테고리의 다른 글
| (간단)docker를 사용한 dev용 mongoDB 서버 실행하기 (1) | 2024.11.04 |
|---|---|
| Git push시 ECS를 통해 자동으로 서버 배포해보기 (0) | 2024.06.16 |
| Docker이미지를 ECS를 통해 배포해보기(2) (0) | 2024.05.16 |
| Docker이미지를 ECS를 통해 배포해보기(1) (0) | 2024.05.14 |
| Git Actions를 활용한 Lambda 배포 자동화 (0) | 2024.04.03 |